Homeowners frequently wonder how to install a vinyl fence to improve their outdoor living spaces. This type of fence offers a clean appearance without too much upkeep. It also has the benefit of resisting rot, rust, and insect damage. Many people choose it for both its practicality and its crisp style.
Contents
- 1 Why Choose Vinyl Fencing
- 2 Tools Needed For Vinyl Fence Installation
- 3 Site Preparation And Planning
- 4 Vinyl Fence Installation Steps
- 5 Positioning And Securing Posts
- 6 Considering The Cost To Install Vinyl Fence
- 7 Dealing With Various Terrain Types
- 8 Slopes, Curves, And Gate Placement
- 9 Additional Considerations For Longevity
- 10 Avoiding Common Pitfalls
- 11 Mid-Project Tips And Reminders
- 12 Maintenance And Final Touches
Why Choose Vinyl Fencing
Vinyl fencing stands out for its durability and low maintenance. You’ll likely appreciate how it’s designed to last for years without the need for constant repairs. It typically does not require painting or staining, making it a great alternative to wood. You can wash it using a garden hose, and it stays bright through changing weather.
Another reason to choose vinyl is how it resists moisture. Wooden fences can warp or rot over time, while vinyl maintains a consistent structure. With vinyl, you can enjoy a sturdy barrier that fits a variety of home designs. It’s also an enticing option if you live in a region with harsh weather conditions.
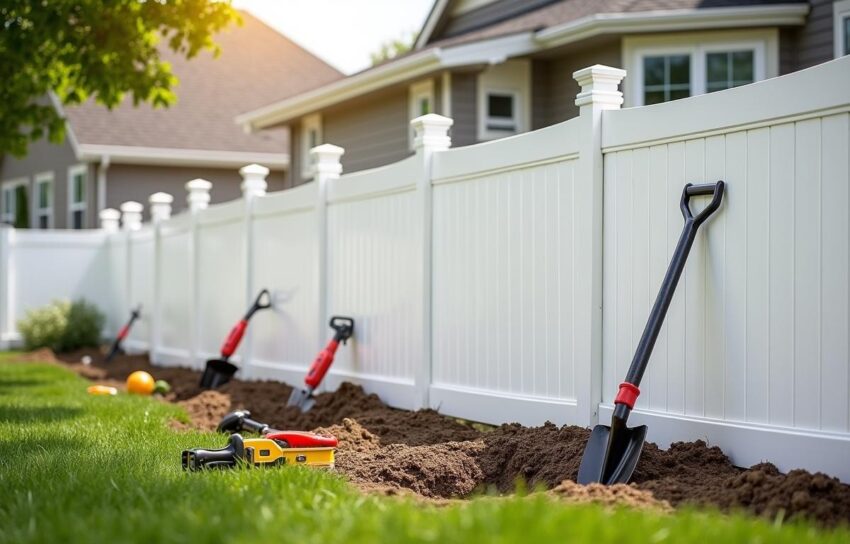
Tools Needed For Vinyl Fence Installation
You’ll want to gather basic equipment before you start the process. A reliable post hole digger is a must, along with a measuring tape, stakes, and string. You’ll also need a level, a shovel, and a saw designed for cutting vinyl if needed. Having these items handy will reduce mid-project trips to the hardware store.
Select the right gear that fits your project scale. Many people rely on the best tools for vinyl fence installation to speed the job along smoothly. A power auger can help create neat post holes, though manual digging works if the ground isn’t too hard. Either way, line up everything in one spot so you can focus on building.
Site Preparation And Planning
Spend time marking your property lines to avoid future conflicts with neighbors or local regulations. It’s wise to check for any buried cables or pipes before digging, since you don’t want to disrupt utilities. You may also need to contact local officials to ensure permits or restrictions are in order.
After confirming boundaries, map out the fence layout. Place stakes at each corner and run string along the entire fence line. This step allows you to see the alignment of posts clearly. Making adjustments now is easier than fixing mistakes once the posts are installed.
Vinyl Fence Installation Steps
Start by digging the post holes. Aim for a depth that matches your fence’s height specifications, plus a few extra inches for drainage and stability. Place the posts in the holes, then fill around them with concrete or gravel to hold them securely. Use a level on each post to ensure straightness before the concrete sets.
Next, attach the fencing panels or rails to the posts. This step often goes quickly if the panels fit snugly. Many homeowners refer to a DIY vinyl fence installation guide to stay on track. It’s best to move methodically along the fence line, making sure each panel lines up with the last.
Positioning And Securing Posts
Spacing your posts evenly is important for a neat appearance. Measure the distance between each post to confirm consistent gaps. Slide any bottom rails into place before placing the panel, ensuring the fence sits at the correct height off the ground. The top rails often snap in place, but it helps to double-check each attachment point.
Keep an eye on the alignment as you progress. If one post is crooked, it can throw off the entire section. Work in smaller sections so you can verify level and plumb angles. That way, you reduce the chance of headaches once the fence is fully assembled.
Considering The Cost To Install Vinyl Fence
Budget plays a big role in most home improvement projects. Many homeowners factor in the cost to install vinyl fence based on the length of the fence line, style of panels, and local labor rates. You might decide to do the work yourself to save money, especially if you already have the tools. However, professional help can offer certain conveniences if you prefer a hands-off approach.
Evaluate material quality, as some panels come with better warranties or thicker vinyl. Thicker materials can handle shifting seasonal temperatures without warping. If you’re unsure about budgeting, get a few quotes for materials and labor. That approach helps clarify if you’re ready to handle the fence build on your own or if a contractor might do it more efficiently.
Dealing With Various Terrain Types
Install your fence on stable, level ground whenever possible. If you have a slight slope, you may need to “step” the fence by installing each panel a bit higher or lower than the last. This creates a neat, stair-like appearance. Be sure to measure carefully to keep the fence consistent.
Rocky or sandy soil may complicate the digging process. In those cases, reinforce post holes with extra gravel or concrete for stability. If the terrain proves too challenging, you can consult professional vinyl fence installation services to handle trickier tasks. They often have specialized equipment to simplify the entire process.
Use gravel at the bottom of each hole to aid water drainage. That method helps direct water away from the posts, reducing the chance of freeze-thaw damage in colder climates. Double-check the soil’s stability for each post before sealing in the concrete. That small step can extend your fence’s lifespan.
Slopes, Curves, And Gate Placement
If your property has hills or curves, plan for those in advance. Tape measures help you determine the angles needed for each fence panel. You can angle the posts slightly or adjust panels to match the natural curve. Taking time to plan for unexpected changes in terrain usually improves the final look.
Decide where you want gates. Mark the gate spot clearly and leave enough room for swinging or sliding. A well-placed gate often makes daily tasks, like bringing out the trash bin, more convenient. Once everything is set, you can secure the gate hardware according to manufacturer instructions.
Additional Considerations For Longevity
Choose quality fasteners to keep your fence stable for years. Rust-resistant screws or bolts reduce wear and tear. Spend some time checking each connection after harsh weather, as even the sturdiest fence can loosen under heavy wind. A quick check now and then prevents bigger problems later.
Many homeowners research vinyl fence installation cost to see how it relates to ongoing care. While vinyl is fairly low-maintenance, occasional inspection ensures you spot any issues early. If you find damage, a replacement panel is often easy to source. That simplicity is one reason many people now choose vinyl over wood.
Avoiding Common Pitfalls
Rushing the concrete curing time can lead to shaky posts. Follow the manufacturer’s instructions for how long to wait before adding fence panels. It might feel tempting to move forward quickly, but patience often yields a sturdier end result.
Another common mistake is ignoring slight differences in post and panel measurements. Double-check the measurements before installing each panel. That habit can save you from uneven sections that need rework. If you’re uncertain, consider flipping through a DIY vinyl fence installation guide or asking a neighbor who has completed a similar project.
Mid-Project Tips And Reminders
If you’re in the middle of the project, remember to pace yourself. Taking short breaks to review progress minimizes errors. When you notice an issue, address it right away rather than hoping to fix it later. Minor corrections often become harder to handle once the fence is fully assembled.
It also helps to keep an eye on the weather. Avoid pouring concrete in heavy rain or freezing temperatures. If necessary, cover open post holes with tarps to keep them dry. Proper timing can significantly improve the quality of your finished fence.
Many people find the best tools for vinyl fence installation can be borrowed from friends, rented, or purchased. Evaluate which makes the most sense for your budget. Borrowing or renting large equipment may be cheaper if you only plan to do this type of project once. If your yard is extensive, investing in a power auger could save time.
If you prefer an easier approach, you can explore professional vinyl fence installation services if it feels overwhelming. You’ll have peace of mind knowing the job meets local codes. A qualified team often completes the work swiftly. They may also offer warranties on labor that add extra reassurance.
Maintenance And Final Touches
Once the fence is up and all panels are secure, walk the perimeter to look for gaps or slight misalignments. Tighten hardware or reseat panels that feel loose. A quick rinse can remove any dust from construction. This step helps you admire the final appearance of your new fence.
Vinyl usually requires less maintenance than wood. Still, many homeowners outline basic vinyl fence maintenance tips like regular washing to keep it looking fresh. Light scrubbing with a gentle soap can do wonders if the surface accumulates dirt. That alone might extend the vibrant look of your fence for a long time.
Air circulation around the fence is also important, so keep vegetation trimmed back. In damp conditions, moss or algae might form, but a quick wash resolves it. You’ll appreciate how easy it can be to keep your vinyl fence looking new.
If you’re doing the labor yourself, you’ll likely gain valuable DIY skills that can help with future projects. Some families turn the installation into a fun weekend activity. When well-planned, it becomes a rewarding experience that upgrades your backyard in a lasting way.